
Many documents created today need to be re-purposed for use in different ways. A document originally intended for print will usually be required in a digital format. A document intended for a mobile device such as an iPad will need to be produced in both landscape and portrait orientations. All of this is made possible in InDesign through the use of alternate layouts.
Know About Alternate Layouts
The Traditional Alternate Layout
The need to create alternate layouts for a document is not an issue that only affects digital documents. Even with print documents it was often necessary to rescale documents for different paper sizes.
In the past designers achieved this by creating the main document, then using File and Save commands to create duplicate copies. The duplicates were then adjusted to accommodate the other paper sizes.
While there is nothing wrong with this approach, it is time consuming. For example, imagine rescaling a document from A4 to A5 (half the size). The text fonts will need to be resized which will influence how the text flows through frames and graphics will need to be reduced in size to fit on the page. While this may not be too time consuming for a one or two-page document it would be an overwhelming task for an entire magazine or book. Furthermore, should a change to the content be required all of the documents would need to be individually edited.
InDesign’s Alternate Layout Concept
In Adobe InDesign, an alternate layout is actually created within the original document. With this approach, it is possible to include several alternative layouts of the same publication within the same document. Each of these alternate layouts becomes a child layout of the parent layout. Each of these layouts can be radically different from one another. However, text frames in child layouts are automatically linked to the parent text frames, so that as soon as the parent is edited, changes are reflected in the child layouts through the Links panel.
This has become necessary because documents are now created for multiple platforms. InDesign’s Alternate Layout feature makes it much easier to make quick changes and to have them applied to all versions and layouts of a document.
Liquid Layout – The Key to Successful Alternate Layouts
Liquid Layout is a feature in InDesign which allows you to adapt the content and objects on a page from one size or scale to another. The basic intent of Liquid Layout is to resize objects on a page in response to changes in page size or orientation. Liquid Layout is actually a set of rules and behaviours that can be applied to a page or the objects on a page to determine what should happen on that page when you change the page size or orientation.
There are several rules for Liquid Layout:
Scale
The scale rule resizes all objects on a page (text and graphics) in response to changes in page size. Make the page bigger, and all objects will scale up accordingly. Make the page smaller, and all objects will scale down.
Re-Centre
The re-centre rule keeps all objects on the page centred. This rule is really only useful when a page size is increased, as when it is decreased, it makes it impossible to see the objects clearly.
Guide-Based
With a guide-based rule, a guide is placed on a page so that it touches one or more objects on that page. Those objects can then be made to behave differently from other objects when the page is resized.
Object-Based
This rule allows you to define behaviours for any object on a page. For example, you can constrain, pin, or auto-fit any object on a page.
Previewing Liquid Layout
Any page in an Adobe InDesign document is said to have a liquid layout. In other words, it can be resized or reoriented with minimal effort. If you wish to preview how a page will look in a different size or orientation, you switch to Page view and then simply drag on any of the eight handles that appear on the page.
Try this yourself:
Download and open this InDesign File
STEP 1:
Display page 1 and press CTRL + 0 to see the full page on the screen
STEP 2:
In the Tools panel, click on the Page tool and notice how the corners of the page change
STEP 3:
Point to the bottom left corner of the page and examine the tool tip that has appeared
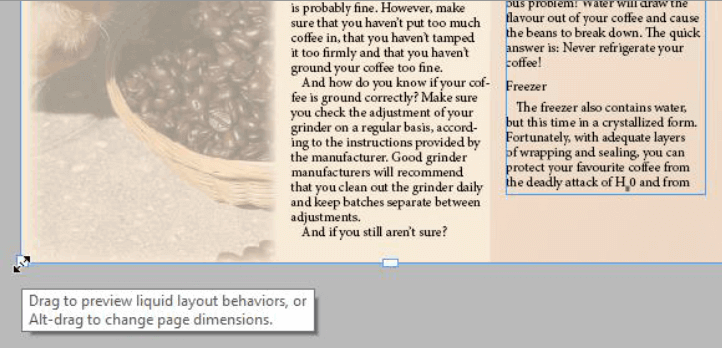
STEP 4:
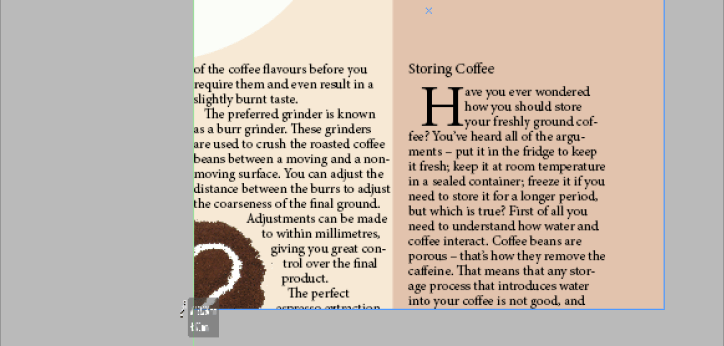
Click and drag the corner up to the centre of the page and keep holding the mouse down
Notice how the page size has shrunk, but all of the page objects remain fixed in both size and location…
STEP 5:
Release the mouse button to allow the page size to spring back to its original size
Handy to Know:
There are eight handles that can be dragged to preview a liquid layout. One handle appears at each corner of the page, and four handles appear at the centres of the page edges.
Dynamic Web Training is Australia’s leading provider of instructor-led InDesign training courses.