The ability to take panoramic images with your mobile device proved to be a stellar idea. Keeping this in mind, Photoshop introduced the Photomerge command that combines numerous images into one incessant image. Make sure to note that Photomerge can overlap images vertically and horizontally. This blog will show you an example of this very command, so keep on reading.
Before we get started ensure that you consider the following points so that the images you work with are able to merge sufficiently.
Panoramic images: Steps
- When you take the pictures do not change the focal length (zooming in or out)
- You can turn at any angle to take the image, however you must not change your position. The images need to be taken in the position you are in.
- Try not to meddle around with the exposure of each image much. This can create disturbance when Photomerge will try aligning the images.
STEP 1:
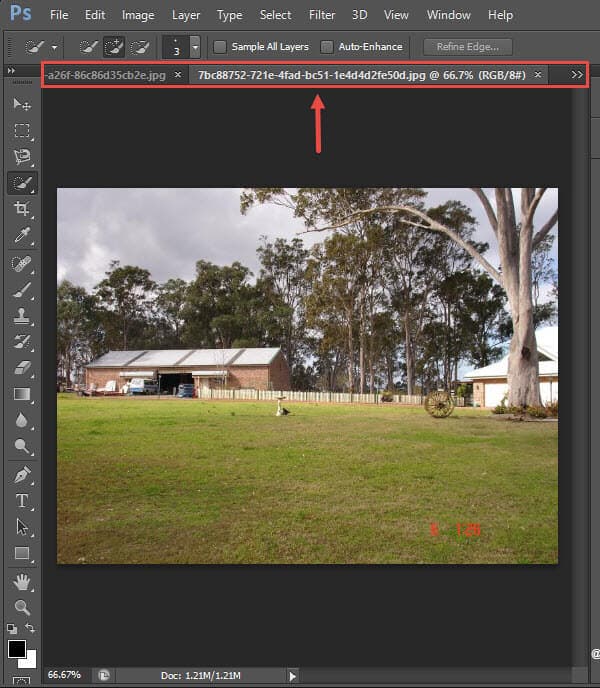
Once you have decided on which images you would like to combine have them opened up in Adobe Photoshop.
STEP 2:
Navigate to the File tab in the Menu Bar, select Automate and from the drop down select Photomerge.
STEP 3:
The Photomerge window will pop up, from the Layout option choose Auto.
By selecting Auto: Photoshop will analyse the source images and will apply either one of the other layouts (Perspective, Cylindrical, and Spherical). This will all depend on which layout Photoshop believes will produce the better photomerge.
In the Use option make sure Files is selected from the drop down and select Add Open Files. This will automatically include all the images that you have open in Adobe Photoshop (ensure that you only have images open that you would like to merge). Also have Blend Images Together check point selected.
Once done press OK.
STEP 4:
Photoshop will take a few seconds and once completed a new image tab will open up of the panorama. Either on the side or the middle, have the Layers panel open. You should be able to see that the images with their layers are selected and present.
Right click (ensure all the layers are selected) and from the options choose Merge Layers to create one combined layer for the new image.
STEP 5:
Now to ensure that there are no grey areas at the top, sides or the bottom of the image you can use the Crop tool. Crop whatever areas you like till you are happy with how the image looks.
STEP 6:
Brilliant! Your very own panoramic image is now complete.