
There are two distinct ways that you are able to select parts of an image in Adobe Photoshop. For this blog we will use the Quick Selection Tool, which can be used to swiftly cover a section using a modifiable round brush tip. As you drag, the selection increases outwards and automatically finds and follows defined edges in the image.
This tutorial will use an image of a penguin, nevertheless feel free to use any image.
Steps for Using Quick Selection Tool
STEP 1:
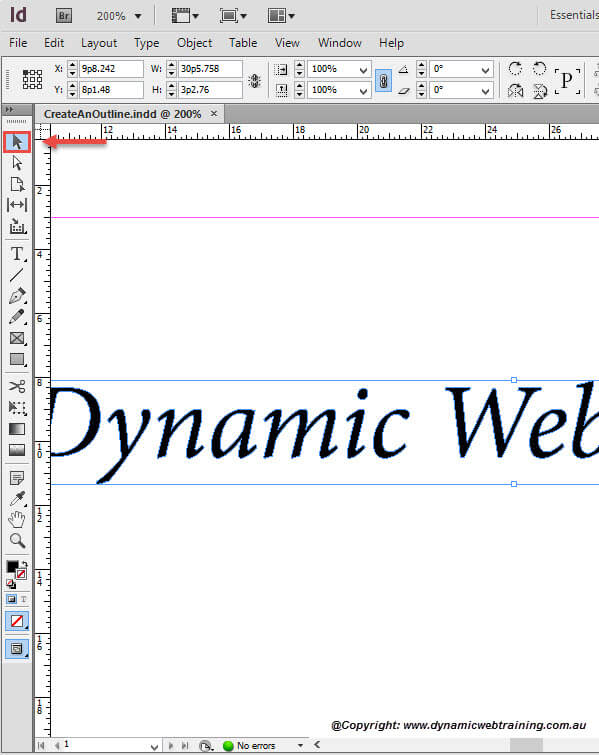
To start off with you will need to use the Quick Selection Tool, to get a rough selection around the object, or penguin in the image. To ensure that you select all the miniscule details you’ll have to make the brush really small and you can do so by using the Left Bracket key ([).
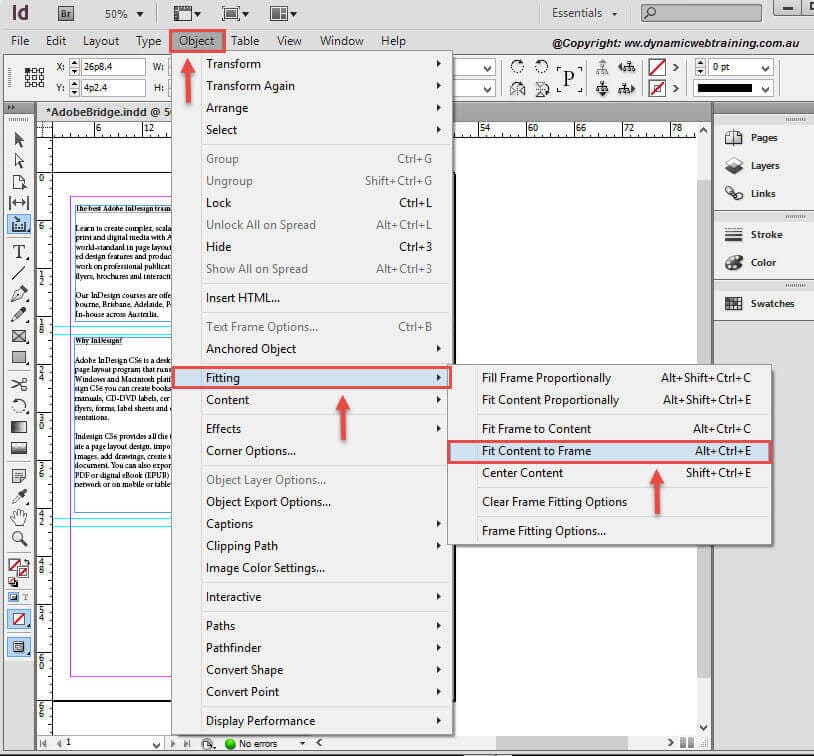
Once you have selected the required area, click the Refine Edge button in the Options Bar on the top.
Note: Steps 2 and 3 make reference to screen capture 2
STEP 2:
When the Refine Edge window opens, press B to set the View setting to black. A darker background will ensure that we are able to see well.
STEP 3:
Set the Radius as 11 and turn on the Smart Radius check box, this will help with selection and some of the edges that are harder to see. Then choose the Layer Mask from the Output To pop-up menu, and click OK.
STEP 4:
CTRL + CLICK on the Create New Layer icon on the bottom of the Layers panel to create a new blank layer under our existing layer. Then go to Edit, select Fill and set the Use pop up menu to Black. This is so that if we need to fix our selection, we can with a similar background.

STEP 5:
Once you have gone over and fixed up any selections you needed to, you should now be done with this image. If you do not want the black background to show when you save the image all you have to do is deselect the ‘layer visibility’ box next to Layer 1 or hide ‘the eye’.
STEP 6:
Save the image so you can use it later.