Mesh tool is intricate and requires one to spend time perfecting each detail, however once completed you will be sure to have achieved a 3-D look in your illustrations. This is due to how the mesh tool works where colours can flow in various directions and transition smoothly from one point to another.
Steps to use the Mesh Tool
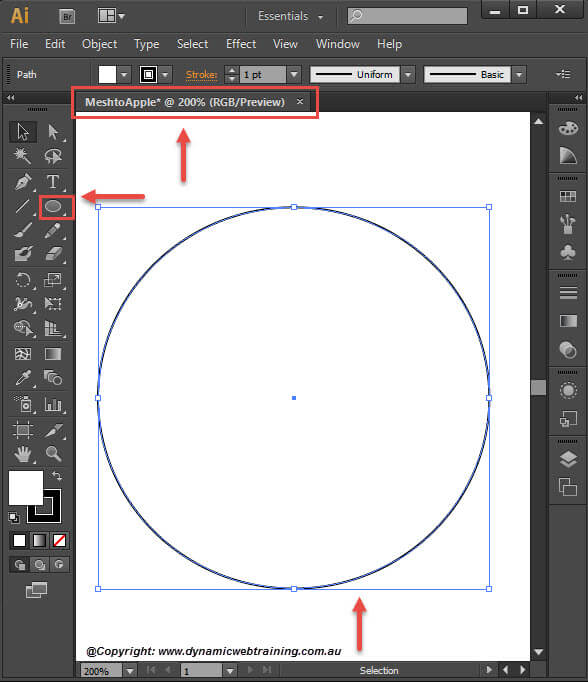
STEP 1:
Start off with having an Adobe Illustrator document opened, either one that you were previously working on or a new document. Using the Ellipse tool, draw a circle.
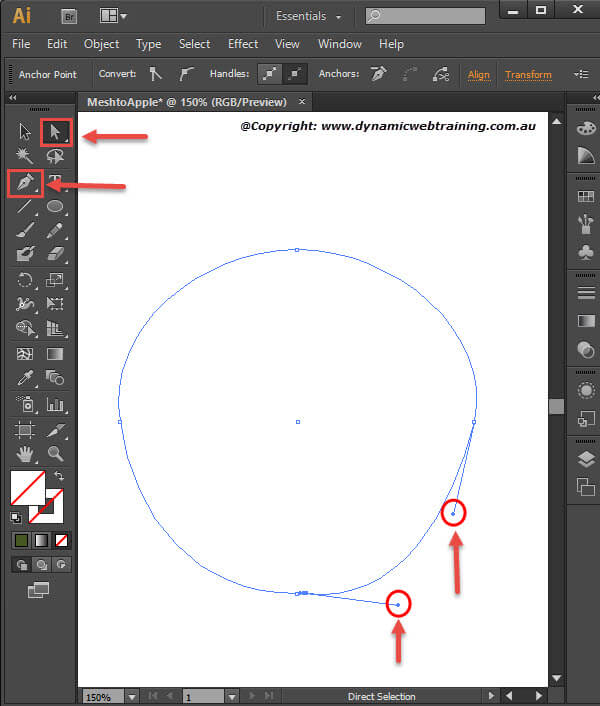
STEP 2:
Using the Direct Selection Tool and the Pen Tool you can adjust the anchors to mould the circle in to the shape of an apple.
This can vary from shape to shape so don’t worry if it’s not identical to what shape I have achieved.
STEP 3:
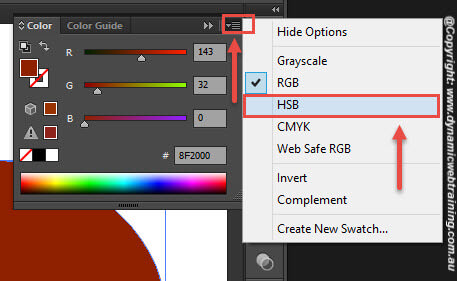
Once you are happy with how the shape looks like, it is now time to apply colour. You can do so by going in to the Colour panel and from the RGB Spectrum eye drop the colour Red.
As you do this variances of Red will appear in the RGB (Red, Green, Blue) options. On top of the RGB Spectrum go into further options and select HSB (Hue, Saturation, Brightness).
Fiddle around and choose the colour which appeals to you the most.

STEP 4:
Navigate to the Menu Bar and select the Mesh Tool. As you select areas on the apple you will notice that mesh lines will appear. Along with the mesh lines there will be mesh points, by moving and editing these points you can alter the intensity of a colour.
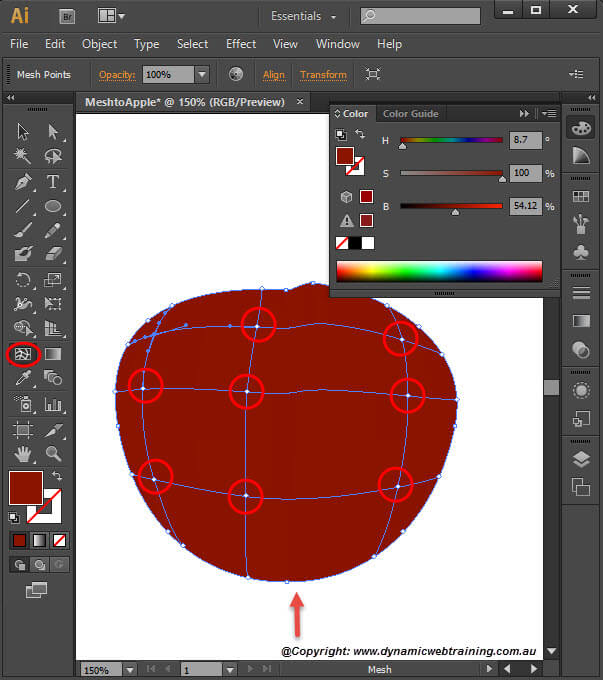
STEP 5:
Click on any of the mesh points and in the Colour panel move either one of the HSB cursors to choose the colour you want to appear. You will notice how the chosen colour will appear intense at the mesh points but spread and get dimmer as it edges closer to other mesh lines.
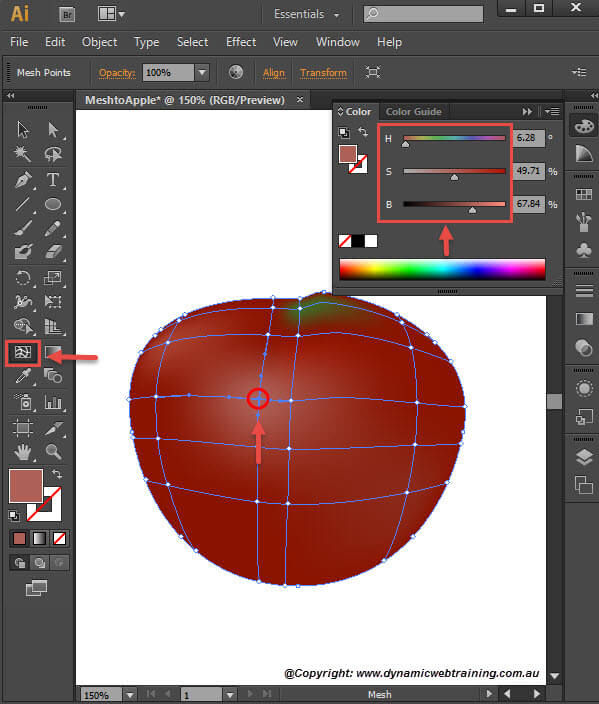
STEP 6:
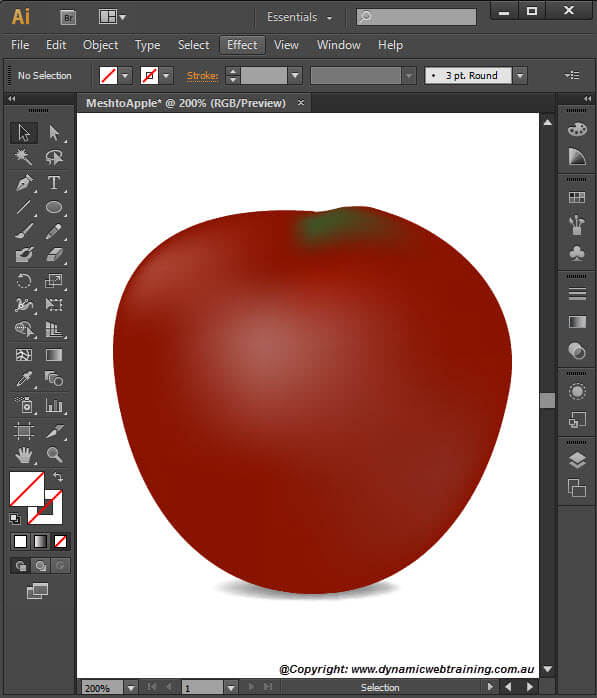
There you have it! Your very own object created using the Mesh Tool. Feel free to add leaves on the top and a shadow at the bottom etc.