
By learning the Vanishing Point Tool, perspective-correct editing in images that contain perspective planes will be simplified. For example, the sides of a building, walls, floors, or any rectangular object.
to use the Vanishing Point Tool: How-to
STEP 1:
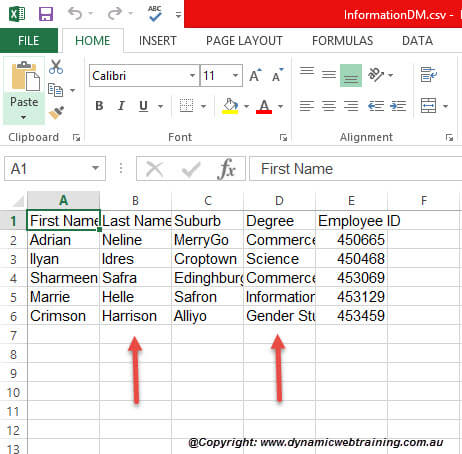
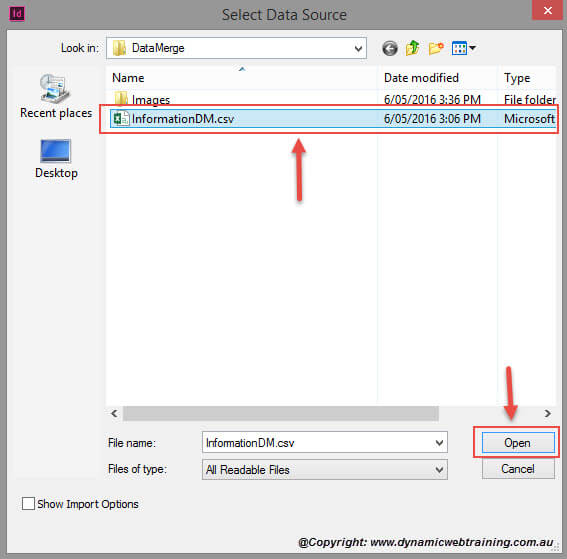
Start of by having two images open in separate windows within Adobe Photoshop (CS6). For this blog the Dynamic Web Training logo and a simple image of a box will be used.
STEP 2:
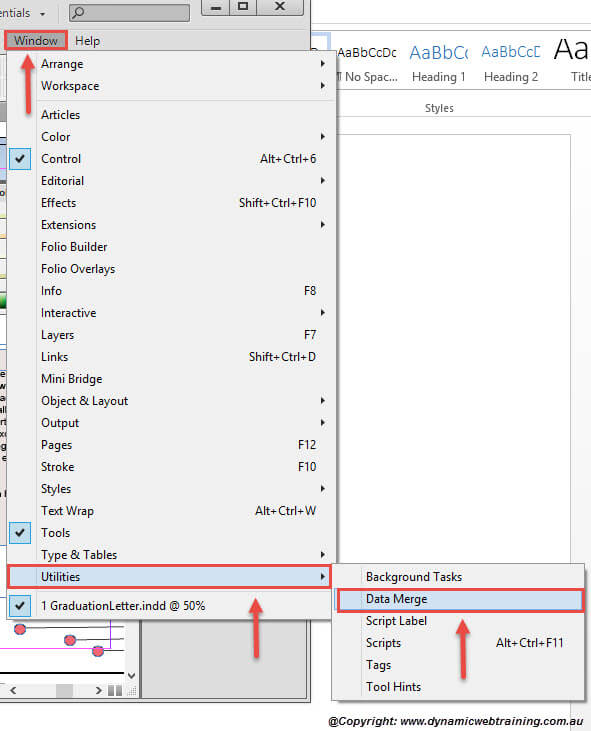
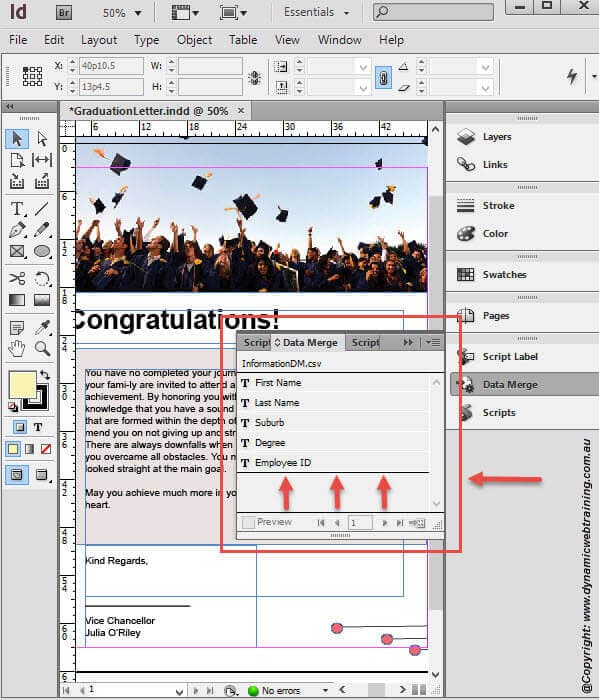
In the Menu bar select Filter and from the drop down menu choose the Vanishing Point option.

STEP 3:
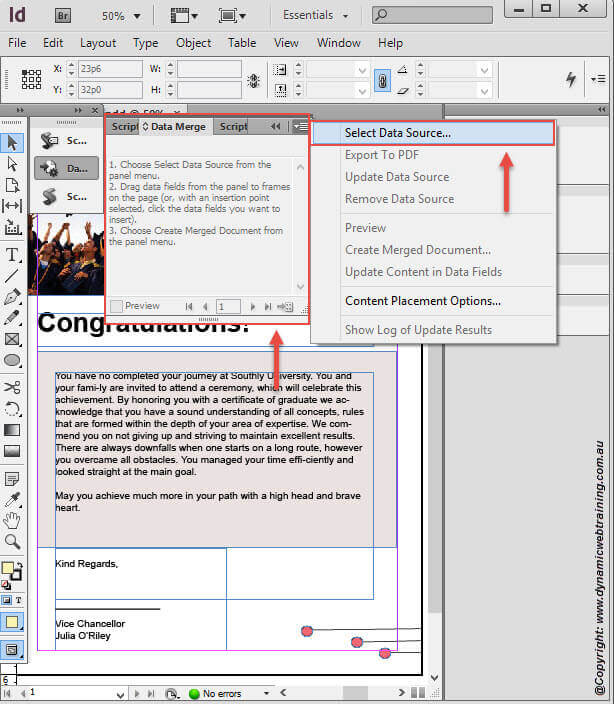
Once the Vanishing Point window opens up you will see your image present in the middle of the screen. On the left there are numerous tools that can be used, select the Create Plane Tool and hover over your image. You will now be able to outline your image in parts or rather rectangles.
Once completed, select OK.
STEP 4:
You will need to create a new layer and you can do so by going to the bottom right corner and selecting the Create New Layer button. The New Layer will appear in the Layers panel.
STEP 5:
Go to second window where your logo is placed and press CTRL + A and CTRL + C, this will copy your logo (image).
STEP 6:
Return to your first window where the box image is placed and open up the Vanishing Point window.
STEP 7:
Once the window opens up and you see your box image in the centre. Press CTRL + T to transform your image and if need be resize your logo image.
STEP 8:
As you slide your logo image over the areas you chose with the Create Plane Tool the image will transformed to its perception.
If you would like to create a copy of the logo within the Vanishing Point window press ALT and a copy will be created.
Once you are happy with how the logo looks on the box select OK.
STEP 9:
This step is if you would like to remove the white background from the logos. You are able to do this within Layers, by going to the Blending Mode drop down and choosing Multiply.
Make sure you have exited out of the Vanishing Point Tool as this step won’t work if you are still within the window.
You are able to save this image as JPEG or PNG.