
Power Apps is Microsoft’s low-code platform for building custom business apps without writing code. With Power Apps you can even turn an Excel spreadsheet into a mobile or web app with drag‑and‑drop ease. In this guide we’ll walk through a simple step-by-step example to build a basic canvas app, polish the look-and-feel, and then publish it. Finally, we’ll show how to embed this app into a Power BI report. Along the way, you’ll get tips and tricks so that even if you’ve never coded before, you can follow along and have a working app in about half an hour.
Step 1: Prepare Your Excel Data (5 Minutes)
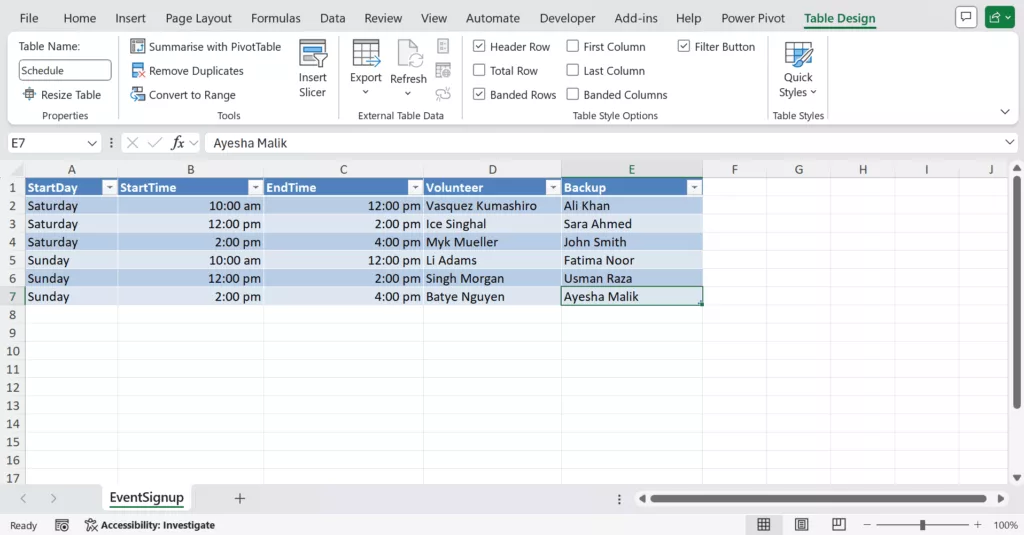
Given below is an Excel file of event schedules that have columns like Volunteer, StartDay, StartTime, EndTime and Backup. We’ll format that data and connect it to Power Apps.
First, get your data ready in Excel. Power Apps works best when your data is in a formatted Table.
1. In Excel sheet select your data range, then on the Insert tab, click Table. Rename the table as “Schedule”. Our events table will look like:
2. Save and close your Excel file “eventsignup.xlsx” and upload it to a cloud storage service.
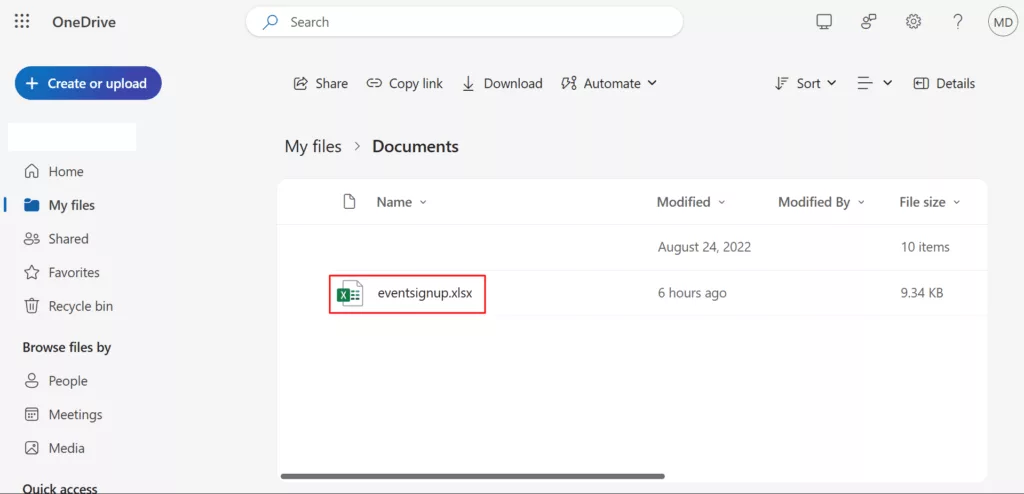
Tip: Power Apps can only connect to Excel files that are stored in the cloud, such as OneDrive or SharePoint.
Step 2: Start a New Power Apps Project (5 Minutes)
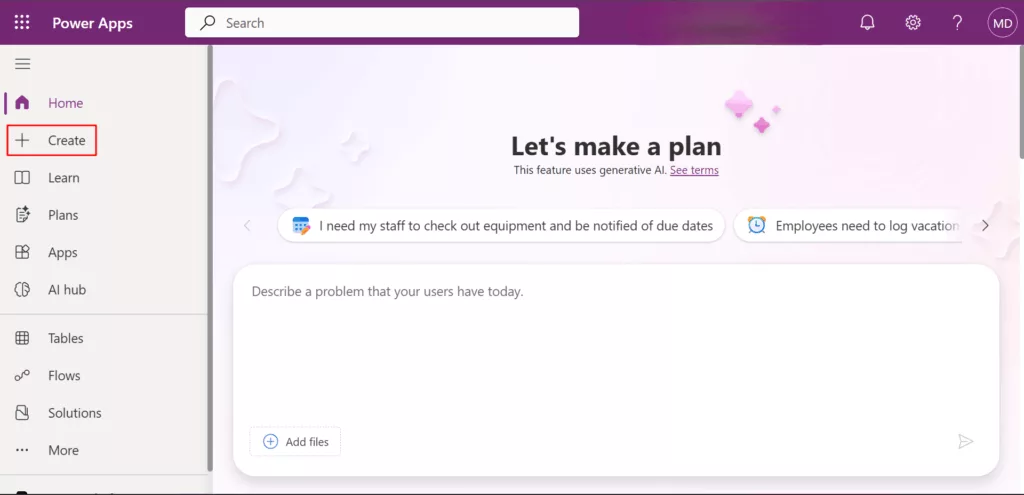
1. Go to Power Apps Studio and “Sign in” with your Microsoft work or school account. At the Power Apps home, click Create on the left.
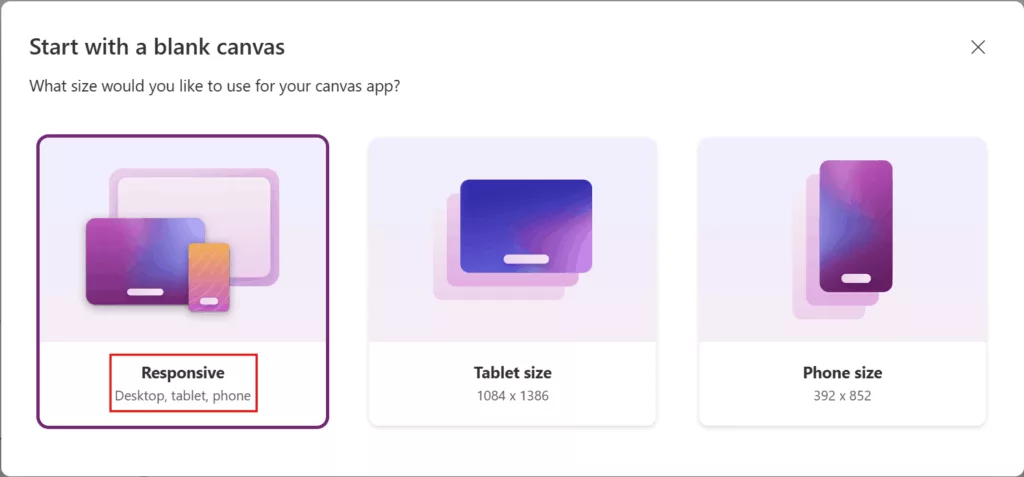
2. Then choose “Start with a Blank canvas” and pick the Responsive layout.

3. Power Apps displays a welcome prompt offering to auto-create a gallery or form. Click on Skip.

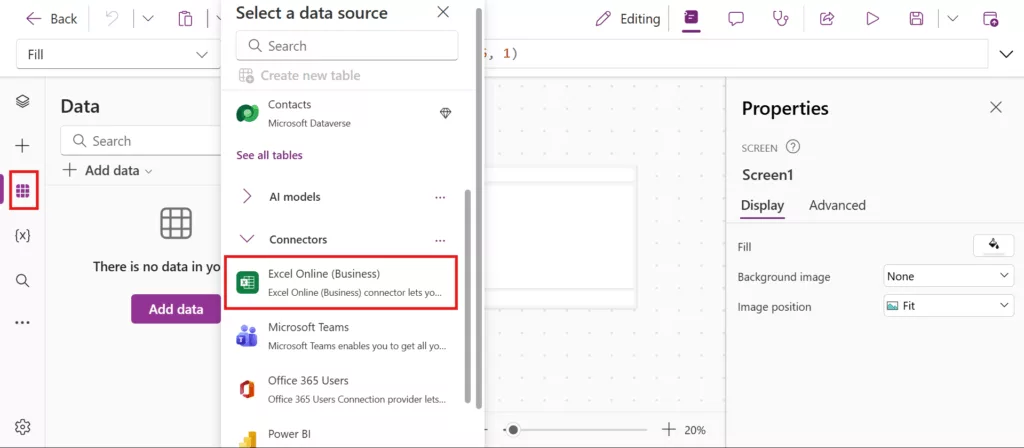
4. You are now in Power Apps Studio, a visual drag-and-drop editor. Because we started Blank, the canvas is empty right now. On the left side, you’ll see data pane click on it to connect to your Excel file. Power Apps has hundreds of connectors for data sources, and Excel is one of them.
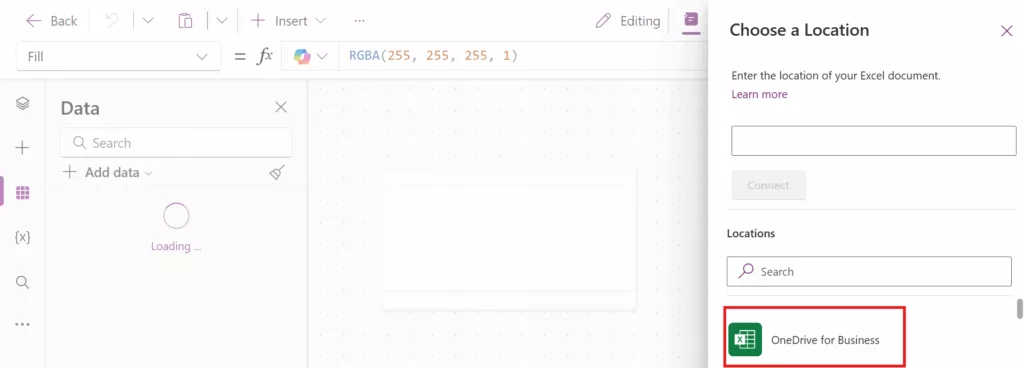
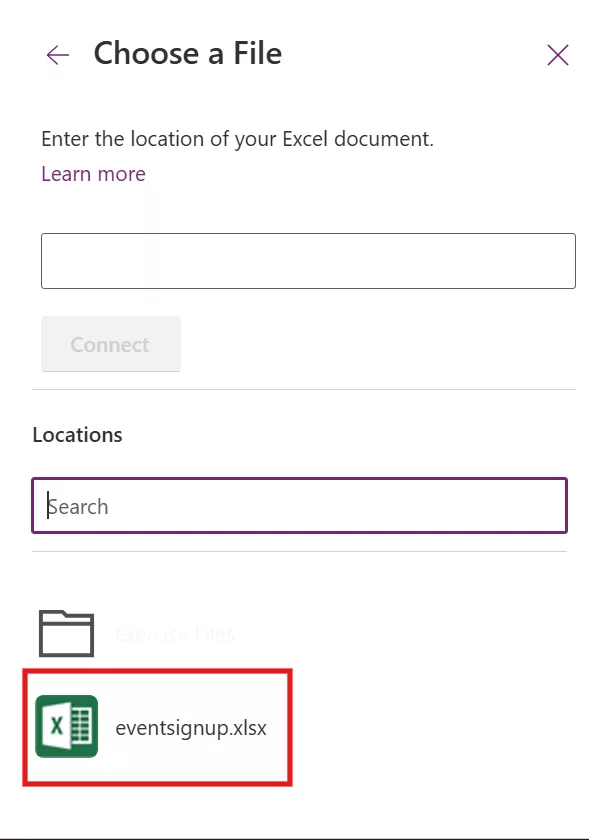
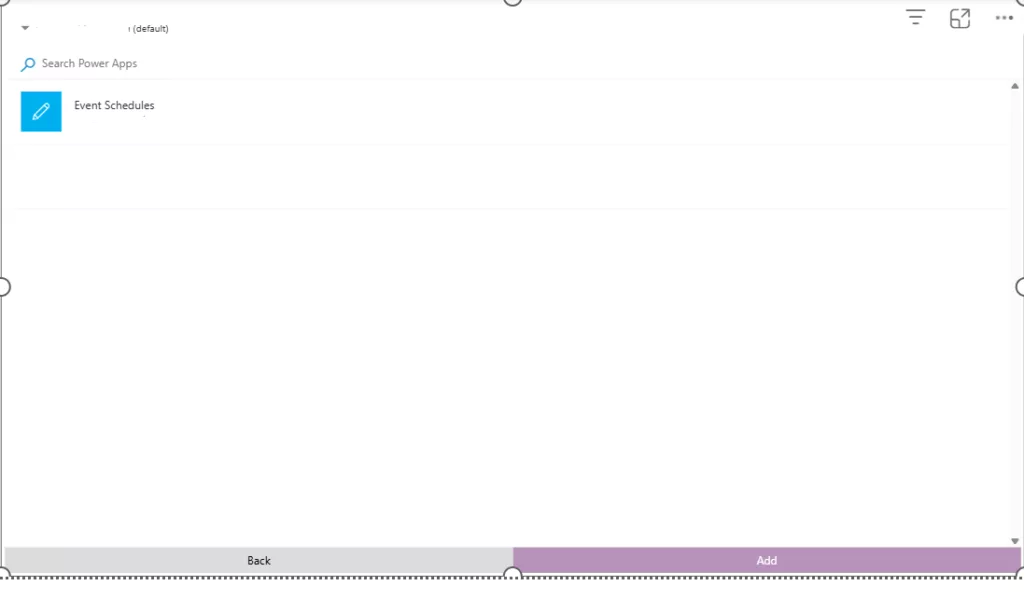
5. To navigate to your file, select OneDrive for Business > OneDrive > Documents > eventsignup.xlsx.
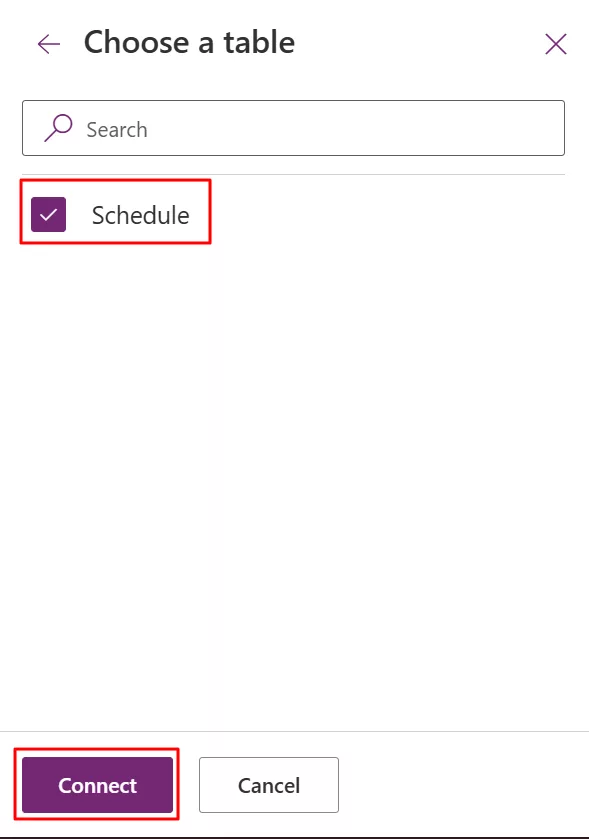
6. Select the table “Schedule” and click Connect.
7. Select “Insert auto generated id into Excel table”. And then click on Connect.

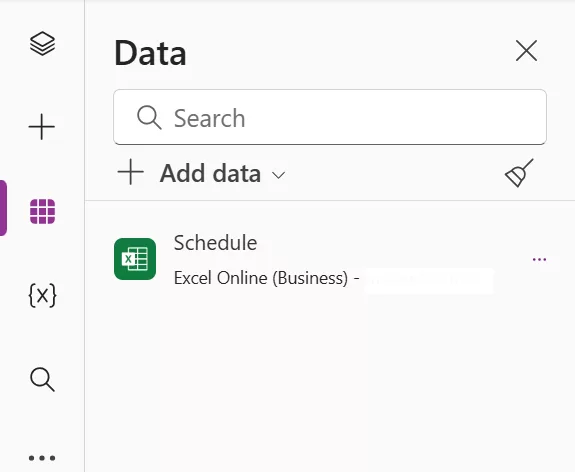
8. Your Excel table is now linked to the app. You’ll see it listed under Data in the right pane.
Step 3: Build the App Screens (15 Minutes)
With the data connected, we’ll create two main screens: a Gallery screen to list records, and a Form screen to view/edit a record.
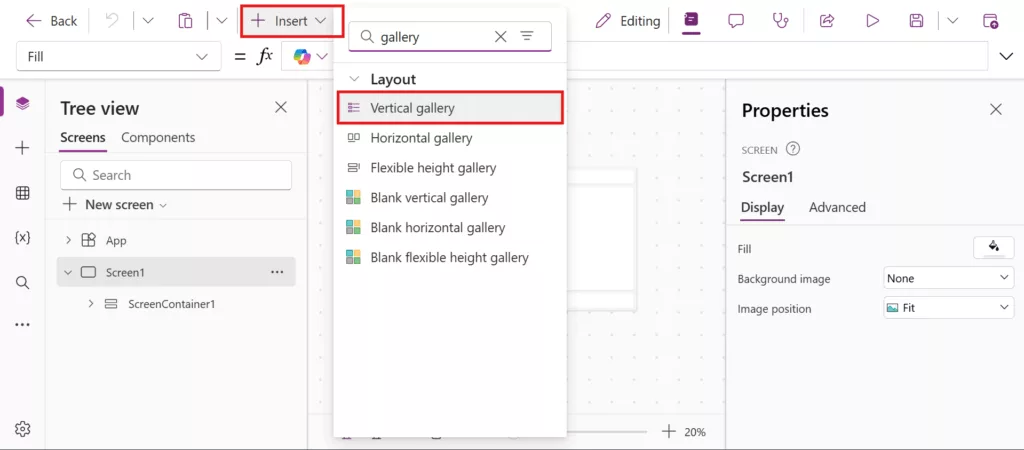
1. In Power Apps Studio, click Insert from the top menu. In the search box, type Gallery. Now, Select Vertical gallery.
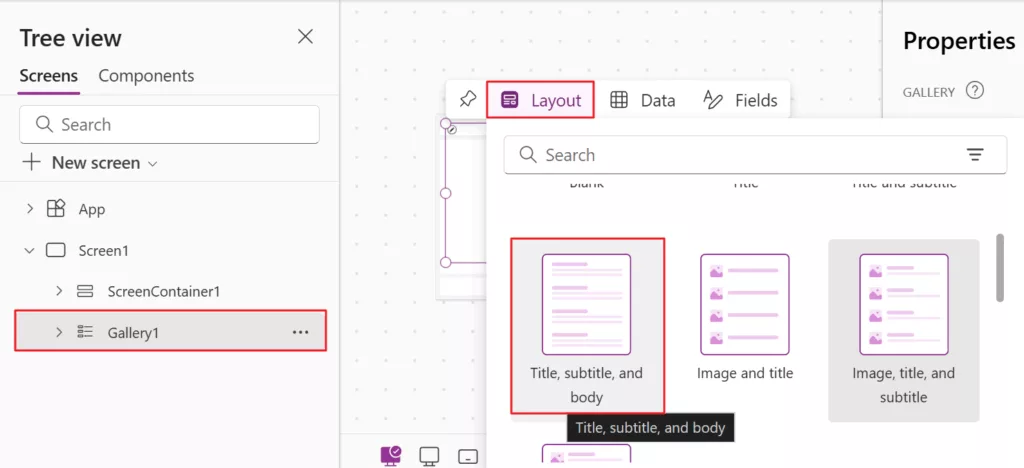
2. A gallery control is added to Screen1. Select Gallery1 and from Layout, choose “Title, subtitle, body”.
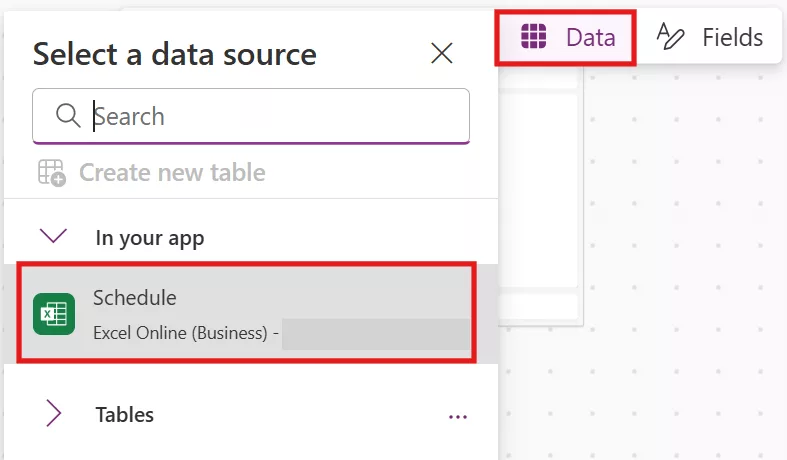
3. Again, Select Gallery1 and from data choose your data source as “Schedule”.
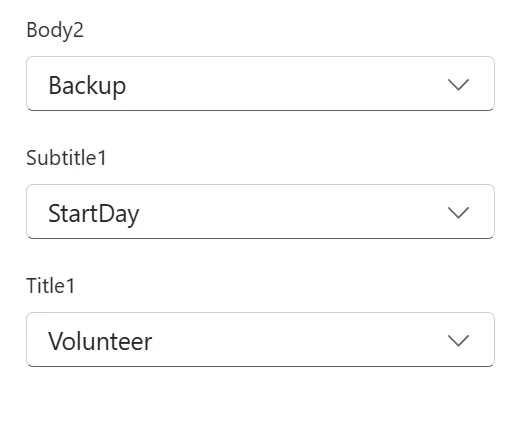
4. Next, customize the fields, set Title to Volunteer, Subtitle to StartDay, and Body to Backup.
Tip: Make sure that you arrange your gallery under main container in the left tree view pane.
5. The gallery will now list all volunteers, showing their name, day, and backup.

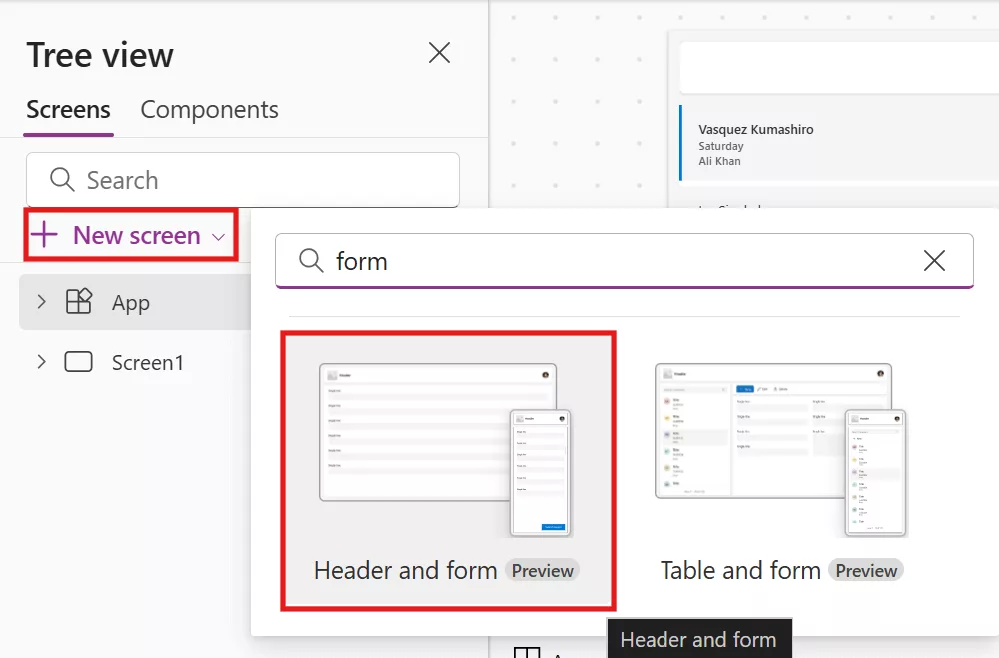
6. In the Tree View, click New screen > Header and Form. This adds an editable Form control on Screen2.
7. With the form selected, set its Data Source as Schedule table.
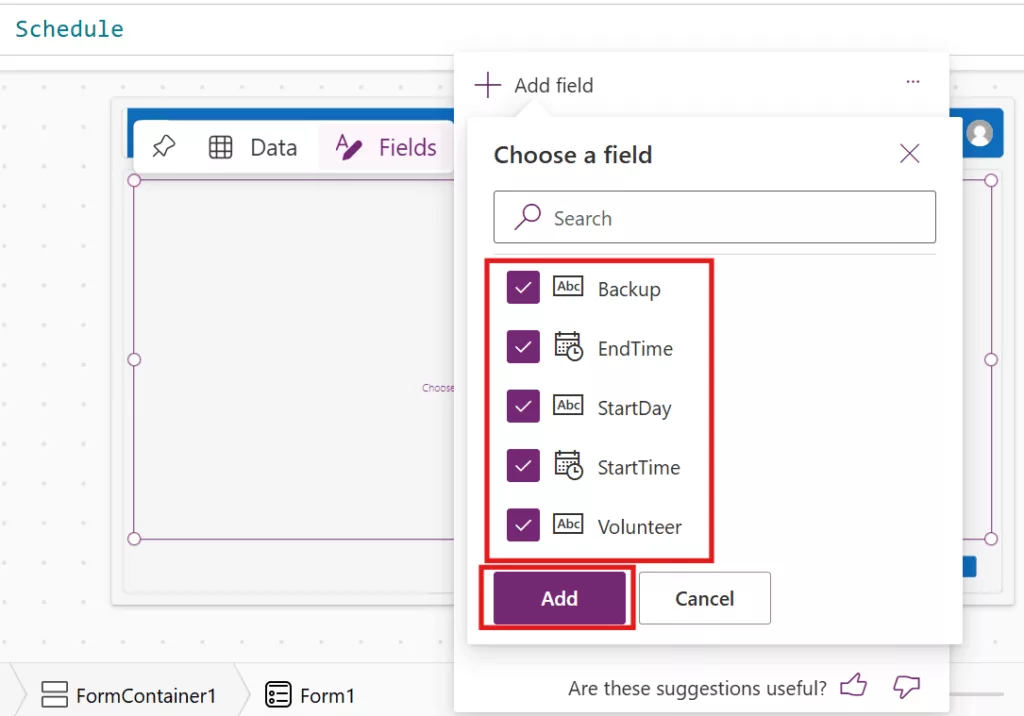
8. Then click Fields and add all columns: Volunteer, StartDay, StartTime, EndTime and Backup. The form will automatically include input controls for each field.
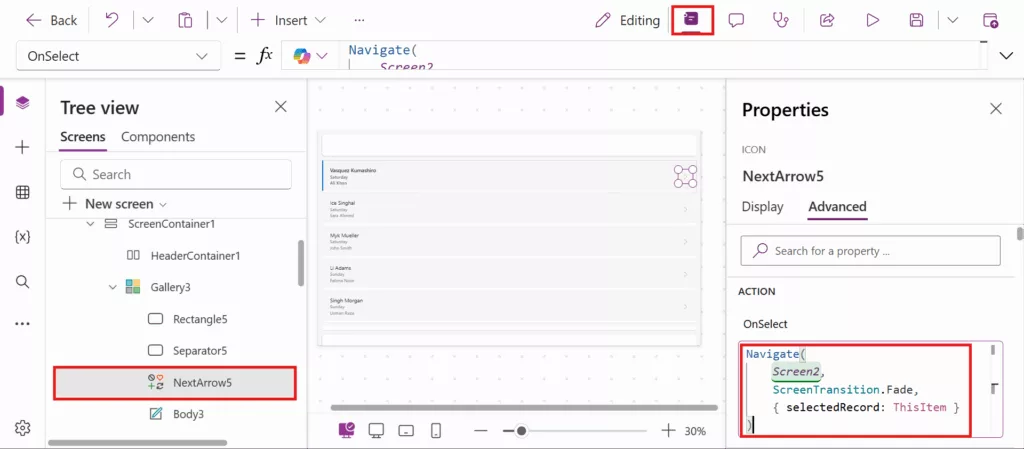
9. Now go to Screen1 and select the NextArrow from the gallery control, open the properties from the top menu and set its OnSelect property as shown below, so tapping arrow icon opens the form with that record item.
Navigate(
    Screen2,
    ScreenTransition.Fade,
    { selectedRecord: ThisItem }
) 
10. On Screen2, Select the Form and set its properties: Item > SelectedRecord, DefaultMode > FormMode.Edit.
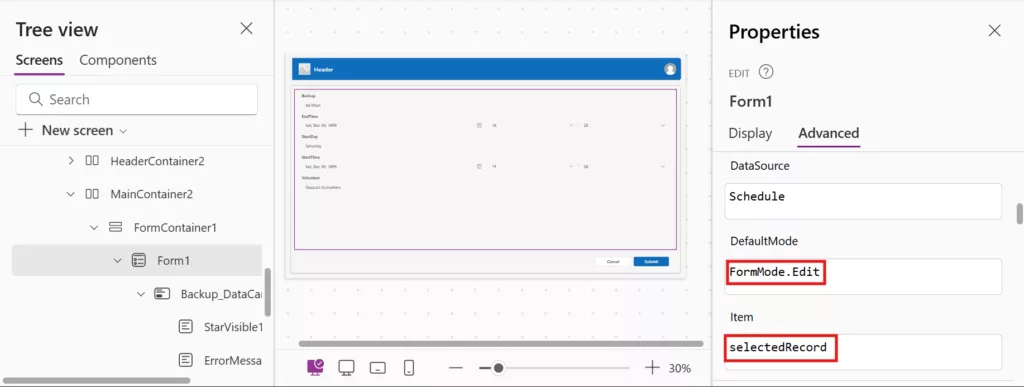
Tip: If item property is blank or wrong, the form will show nothing.
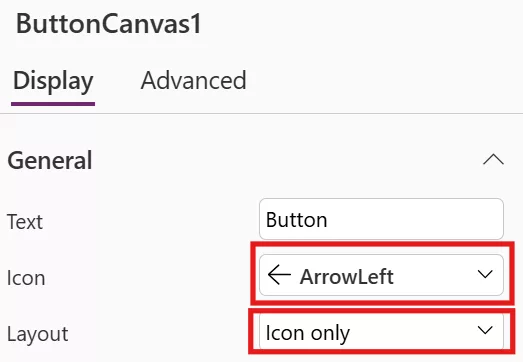
11. Screen2 already has a Submit button to save changes back to Excel. You can add a Back Button: Insert > Button and set its OnSelect property to Back().
At this point, Power Apps has already wired up the gallery and form to your Excel data. There is no code to write; it’s all formulas and properties.
Step 4. Customize the Layout and Style (3 Minutes)
Now let’s make the app look nicer and more informative. Power Apps Studio lets you adjust colors, fonts, and add any controls from the Insert menu. You can Rename screen titles or labels. Or Rearrange controls: drag fields in the form, resize them, or move them on the canvas
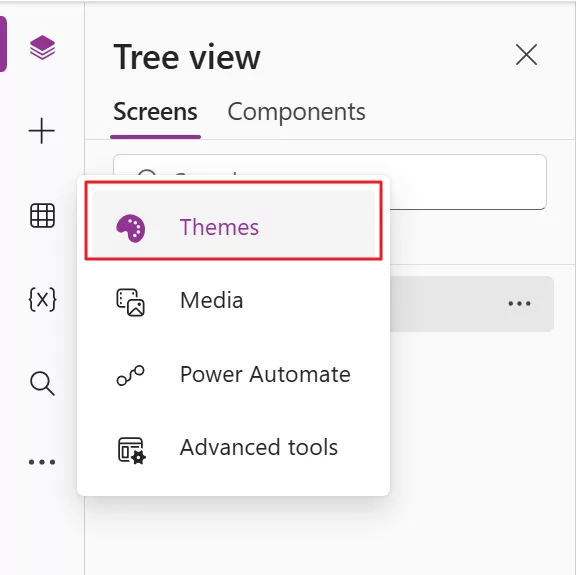
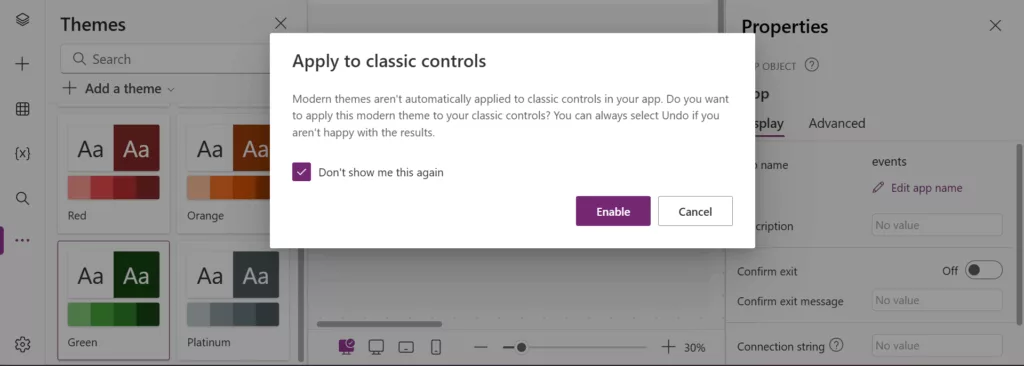
1. To change the theme of the App, click on the Theme tab, and pick a theme.
2. To display a notification on the submit button on Screen2, select your Submit button and set OnSelect to: SubmitForm(Form1) and then select Form1 and set OnSuccess to:
Refresh(Schedule);
Notify("Saved successfully", NotificationType.Success);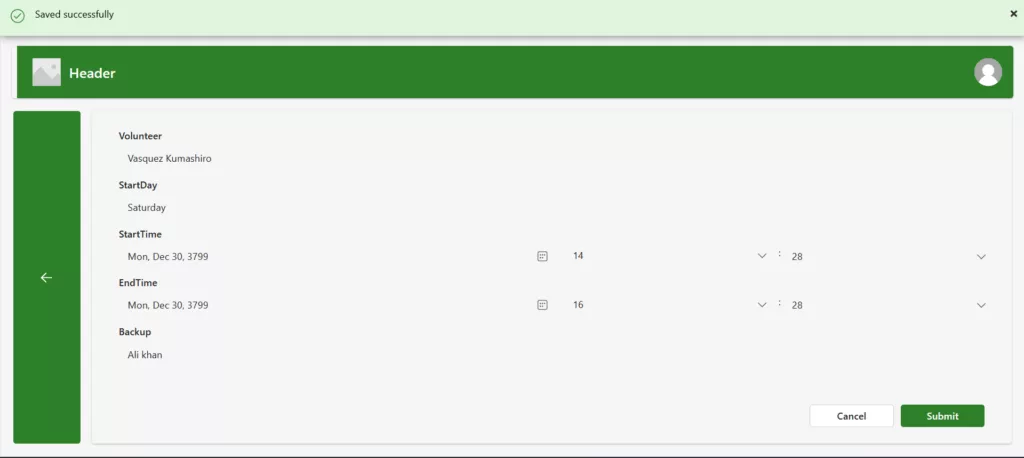
Step 5. Save, Publish, and Share Your App (2 Minutes)
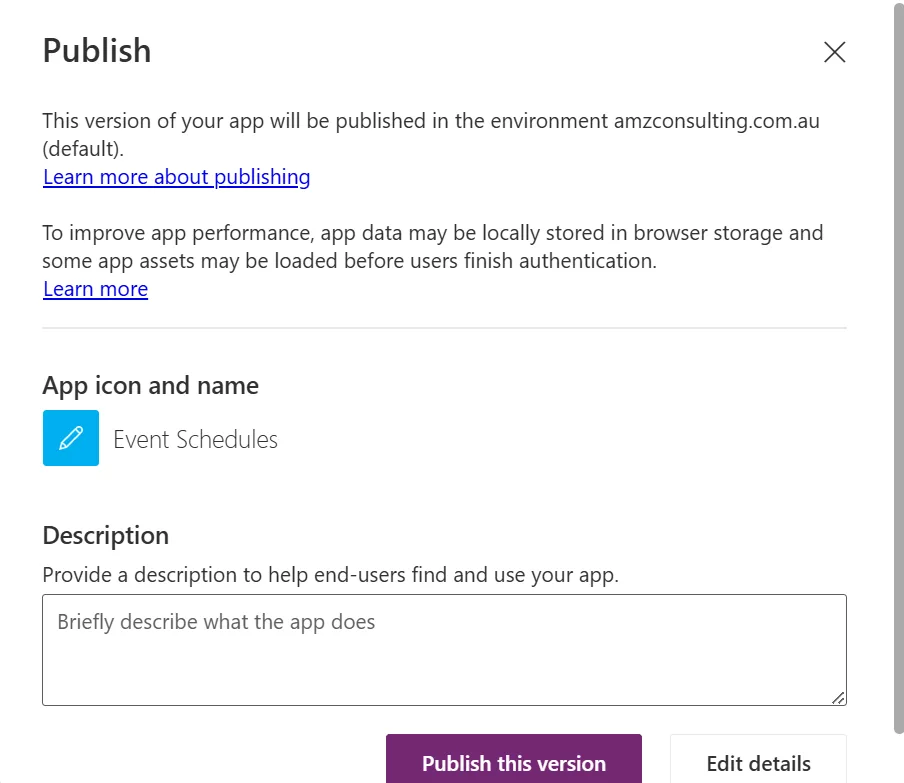
Once your app looks good and works as expected use the ▶️ Play button to test it, save and publish it. In Power Apps Studio, click the Save button on the top menu. Give the app a clear name and description. Then choose Publish > Publish this version. Your app is now available to users in your organization.
You can share the app by clicking Share in the top command bar. Enter users or groups and set permissions. Power Apps will send them a link, or they can find it under Apps in Power Apps.
At this point, your first app is complete! Colleagues can run it on their phones or in a browser. Any changes they make add/edit/delete will update the Excel file in OneDrive.
Step 6. Embed Your App in Power BI
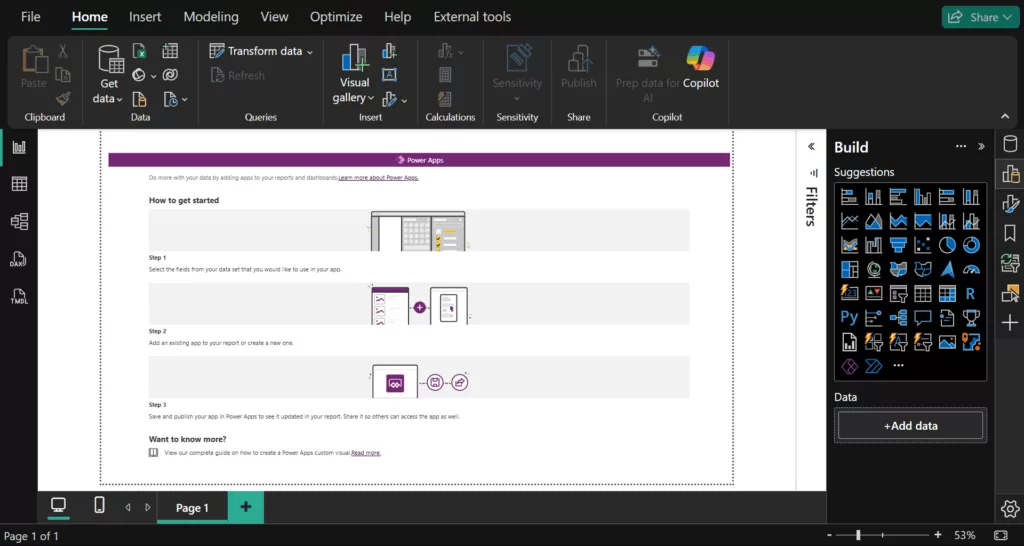
Power Apps can also live inside Power BI dashboards as an interactive visual. If you have a Power BI report, you can add the Power Apps visual.
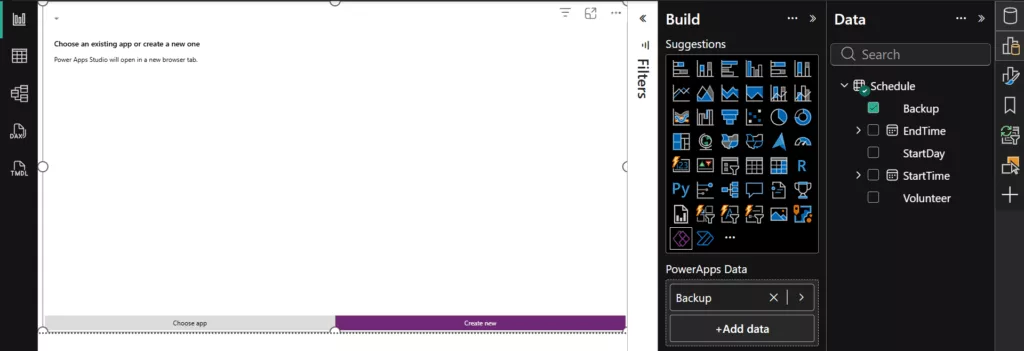
Here’s the quick idea: open Power BI Desktop, insert the Power Apps visual from the Build pane, and in the Data pane pick the columns you want to use.
Then click Choose app on the Power Apps visual. This will launch Power Apps Studio with your existing apps.
Make sure the data linked to your app has no access restrictions.
When you save the app, it embeds right into the report.
Next Steps
Congratulations on building your first Power App! From here, there is a lot more to explore, for instance, Power Apps has built-in templates e.g. Expense Tracker, Help Desk, that give you complete apps you can customize. They’re a great learning tool. Or you can connect Power Apps to Power Automate flows for approvals or notifications. For example, on form submit you might trigger an email to your team.
As your needs grow, Power Apps scales with you. You can enhance data management with Dataverse and deliver richer insights through Power BI. What starts as a simple app can quickly evolve into a powerful, enterprise-ready solution.
FAQs
- Do I need coding skills to build a Power App?
No. Power Apps is a low-code platform designed for beginners. You can build functional apps using drag-and-drop tools and simple formulas without a programming experience. - How long does it really take to build a Power App?
For simple use cases like forms or data entry apps, you can build a working Power App in about 30 minutes, especially using built-in templates or SharePoint data. - Is Power Apps free to use?
Power Apps offers basic functionality with Microsoft 365 licenses. Some advanced features and premium connectors require additional licensing. - Where can I learn Power Apps?
If you wish to learn Power Apps please see our Introductory Power Apps course.